Your Cart is Empty


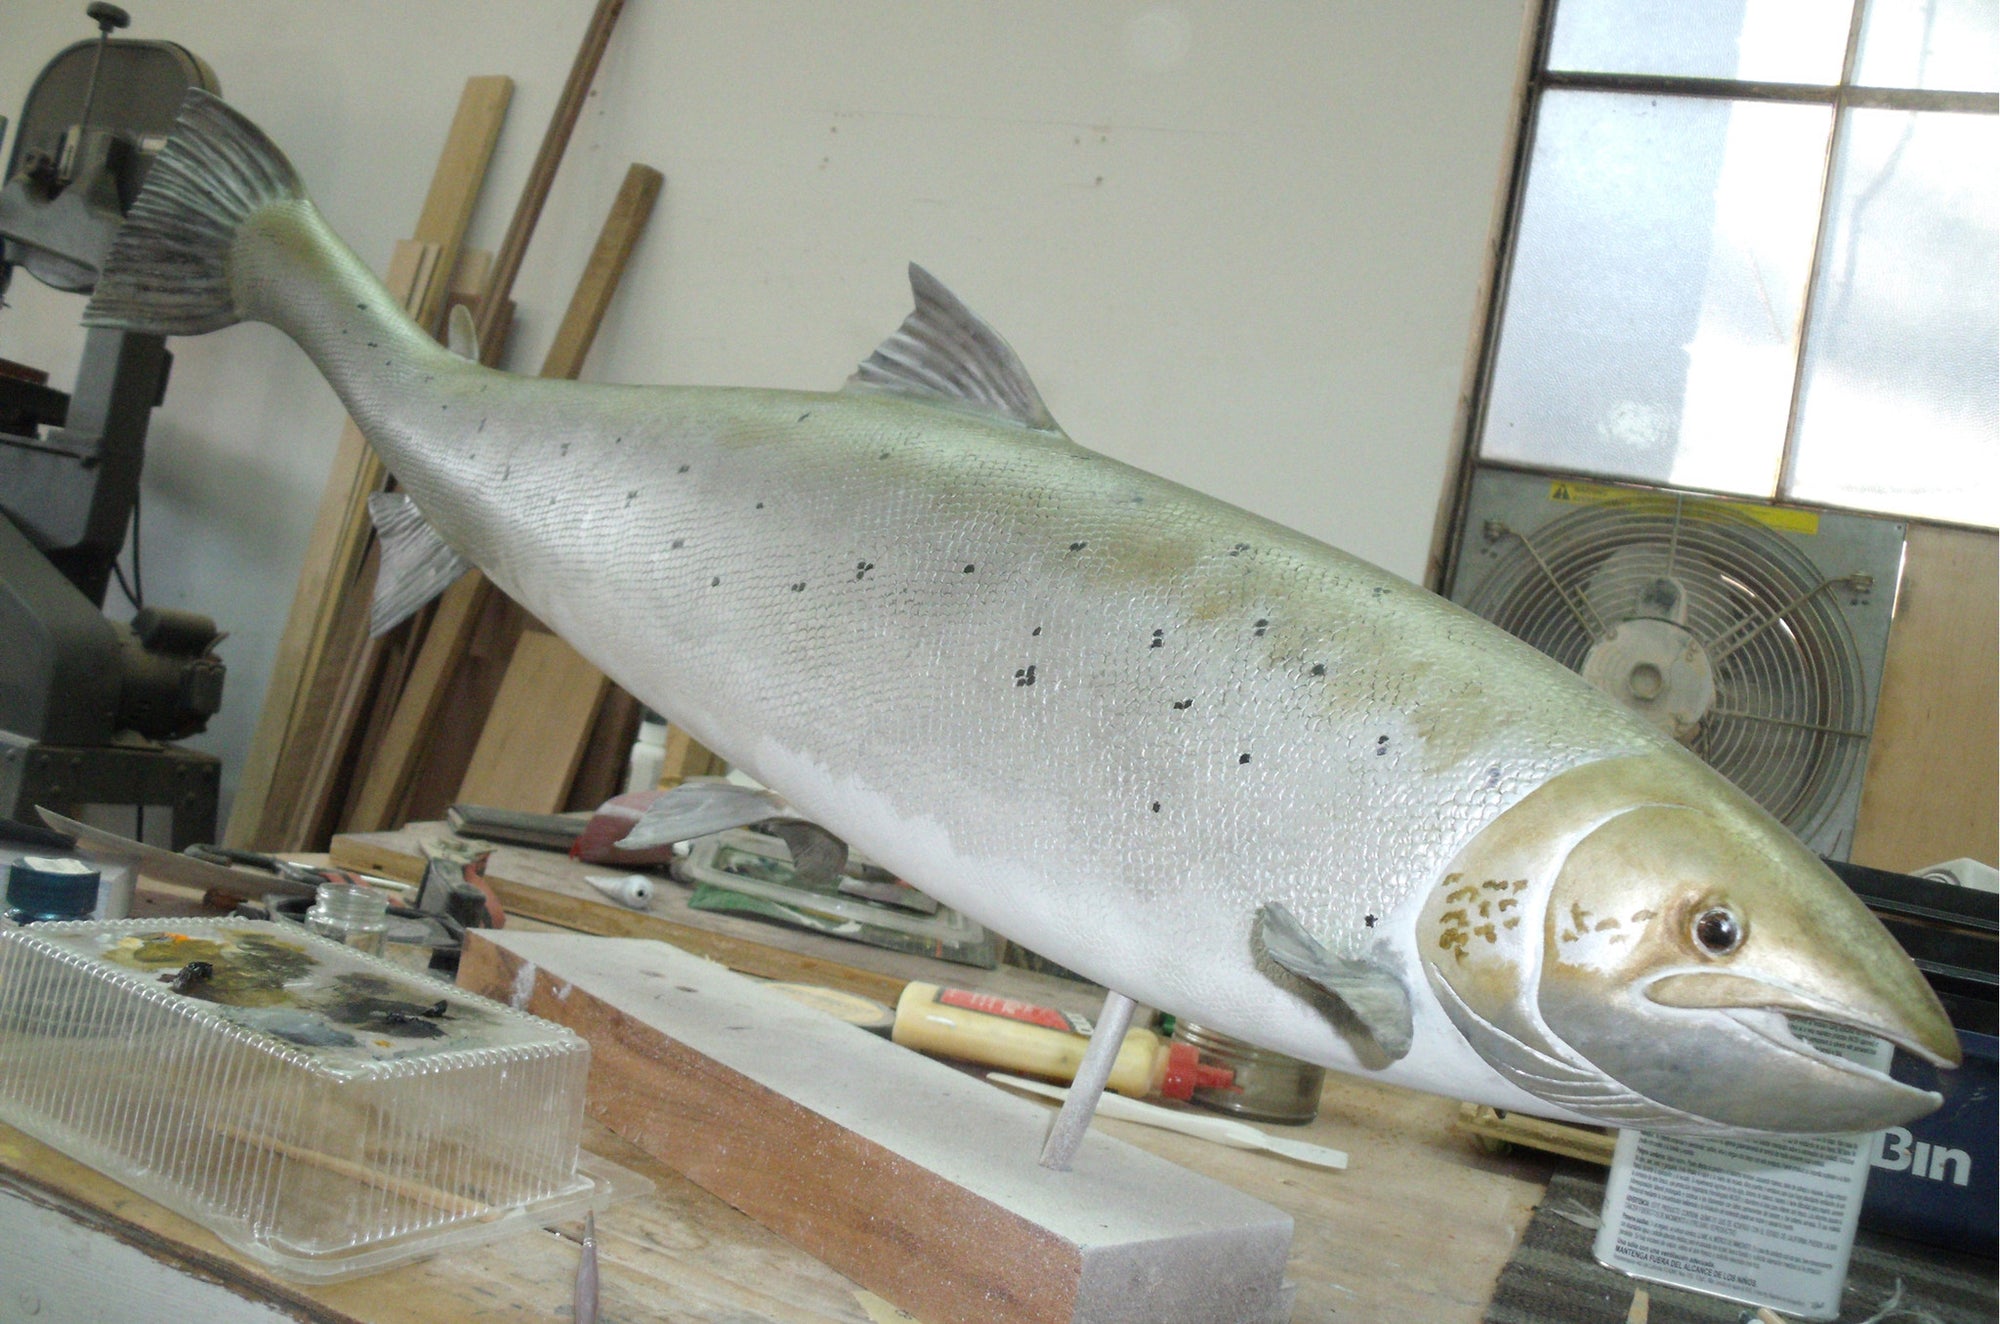
We recently had the pleasure of spending a few minutes with old friend and superb fish carver Mark Bennett.

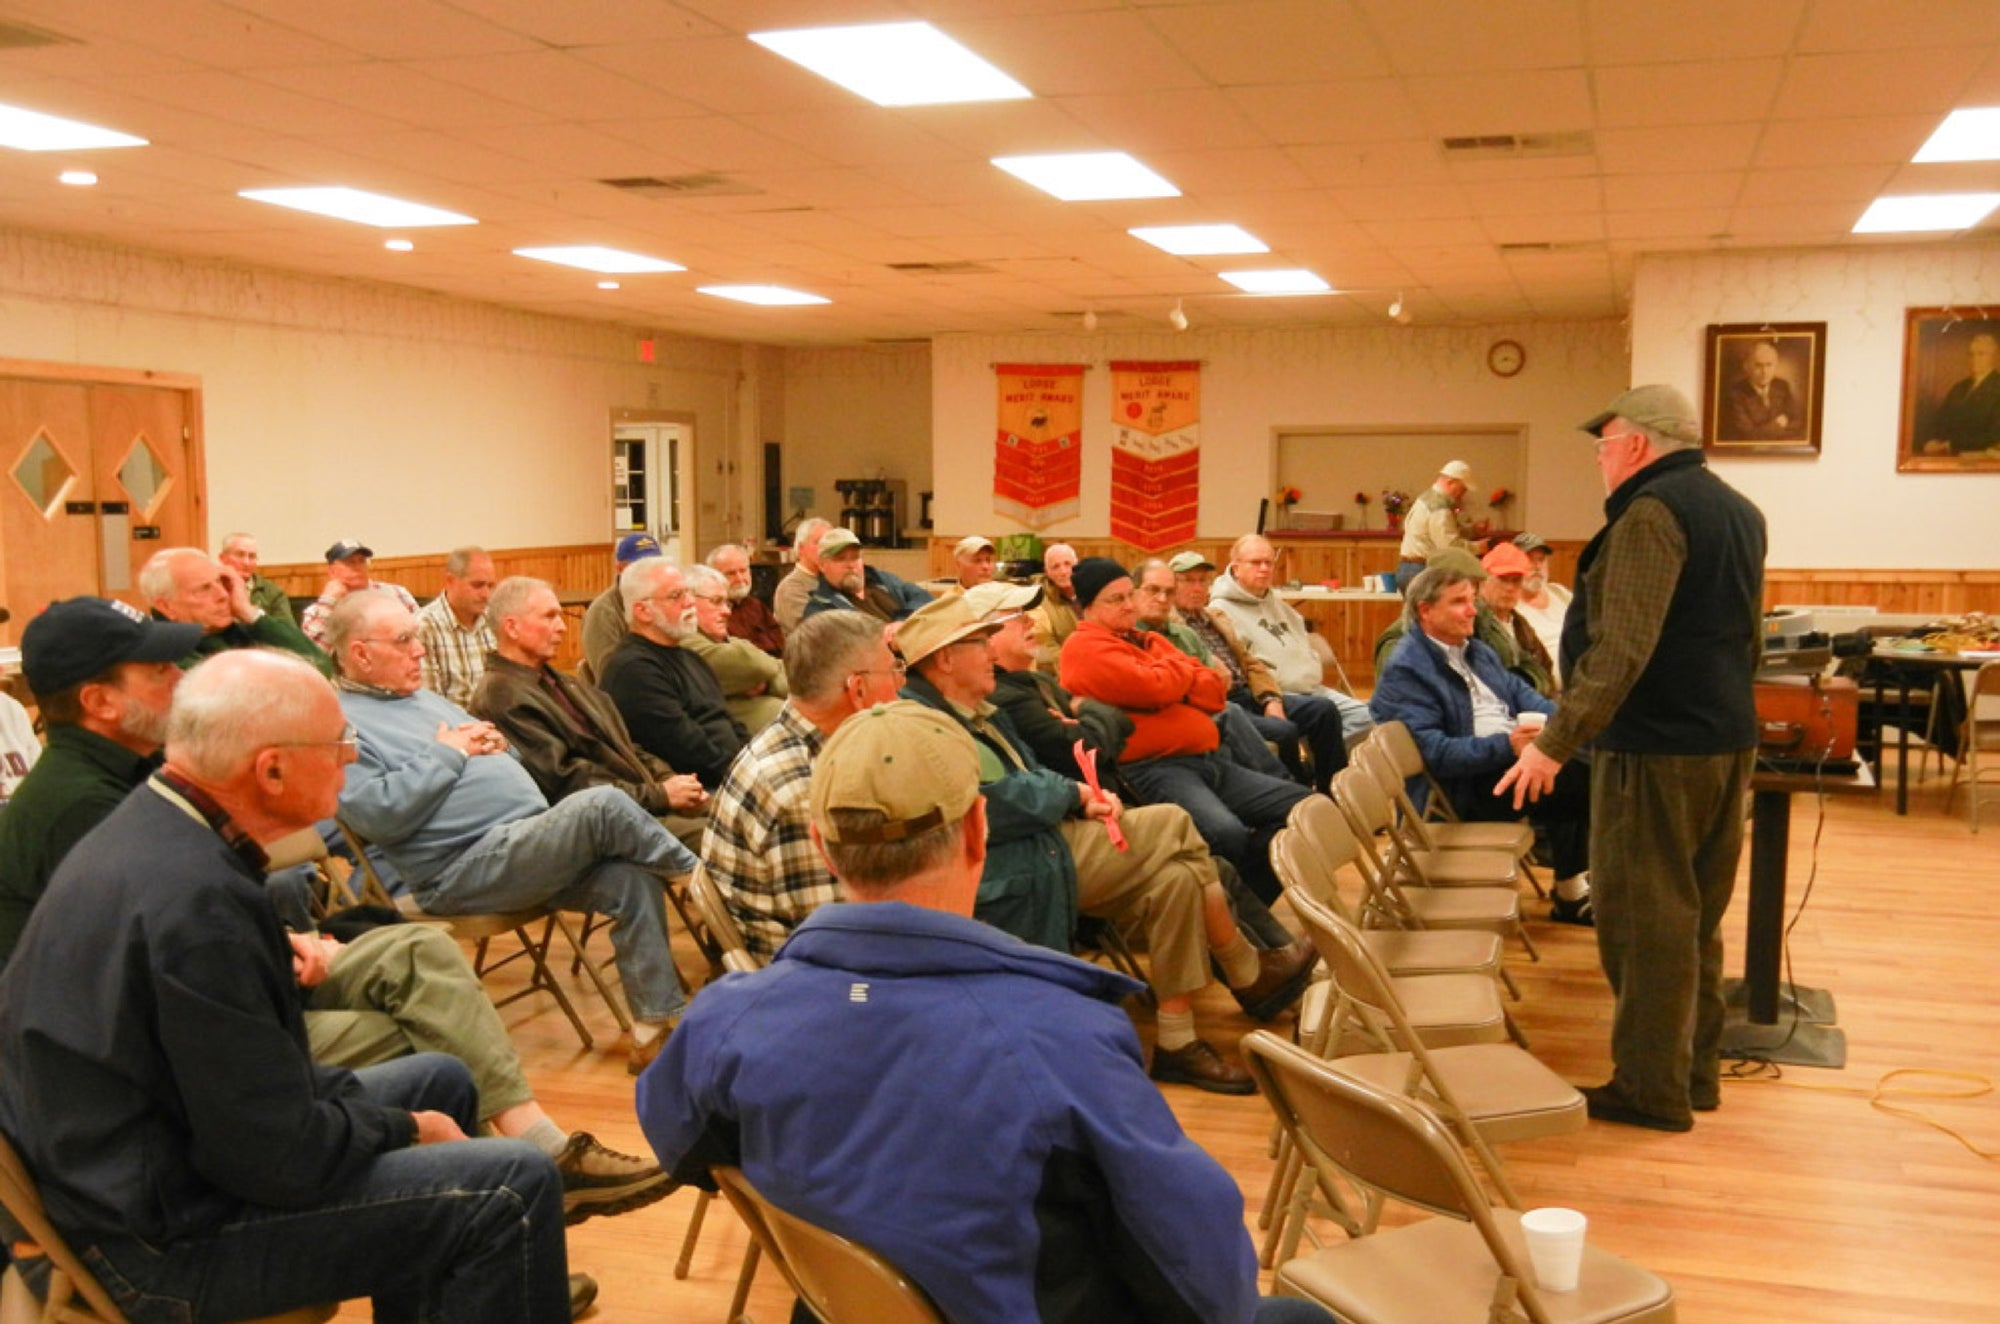
A few weeks back I was invited to give a talk on bamboo fly rods to the Thames Valley Trout Unlimited chapter nearby in Connecticut.

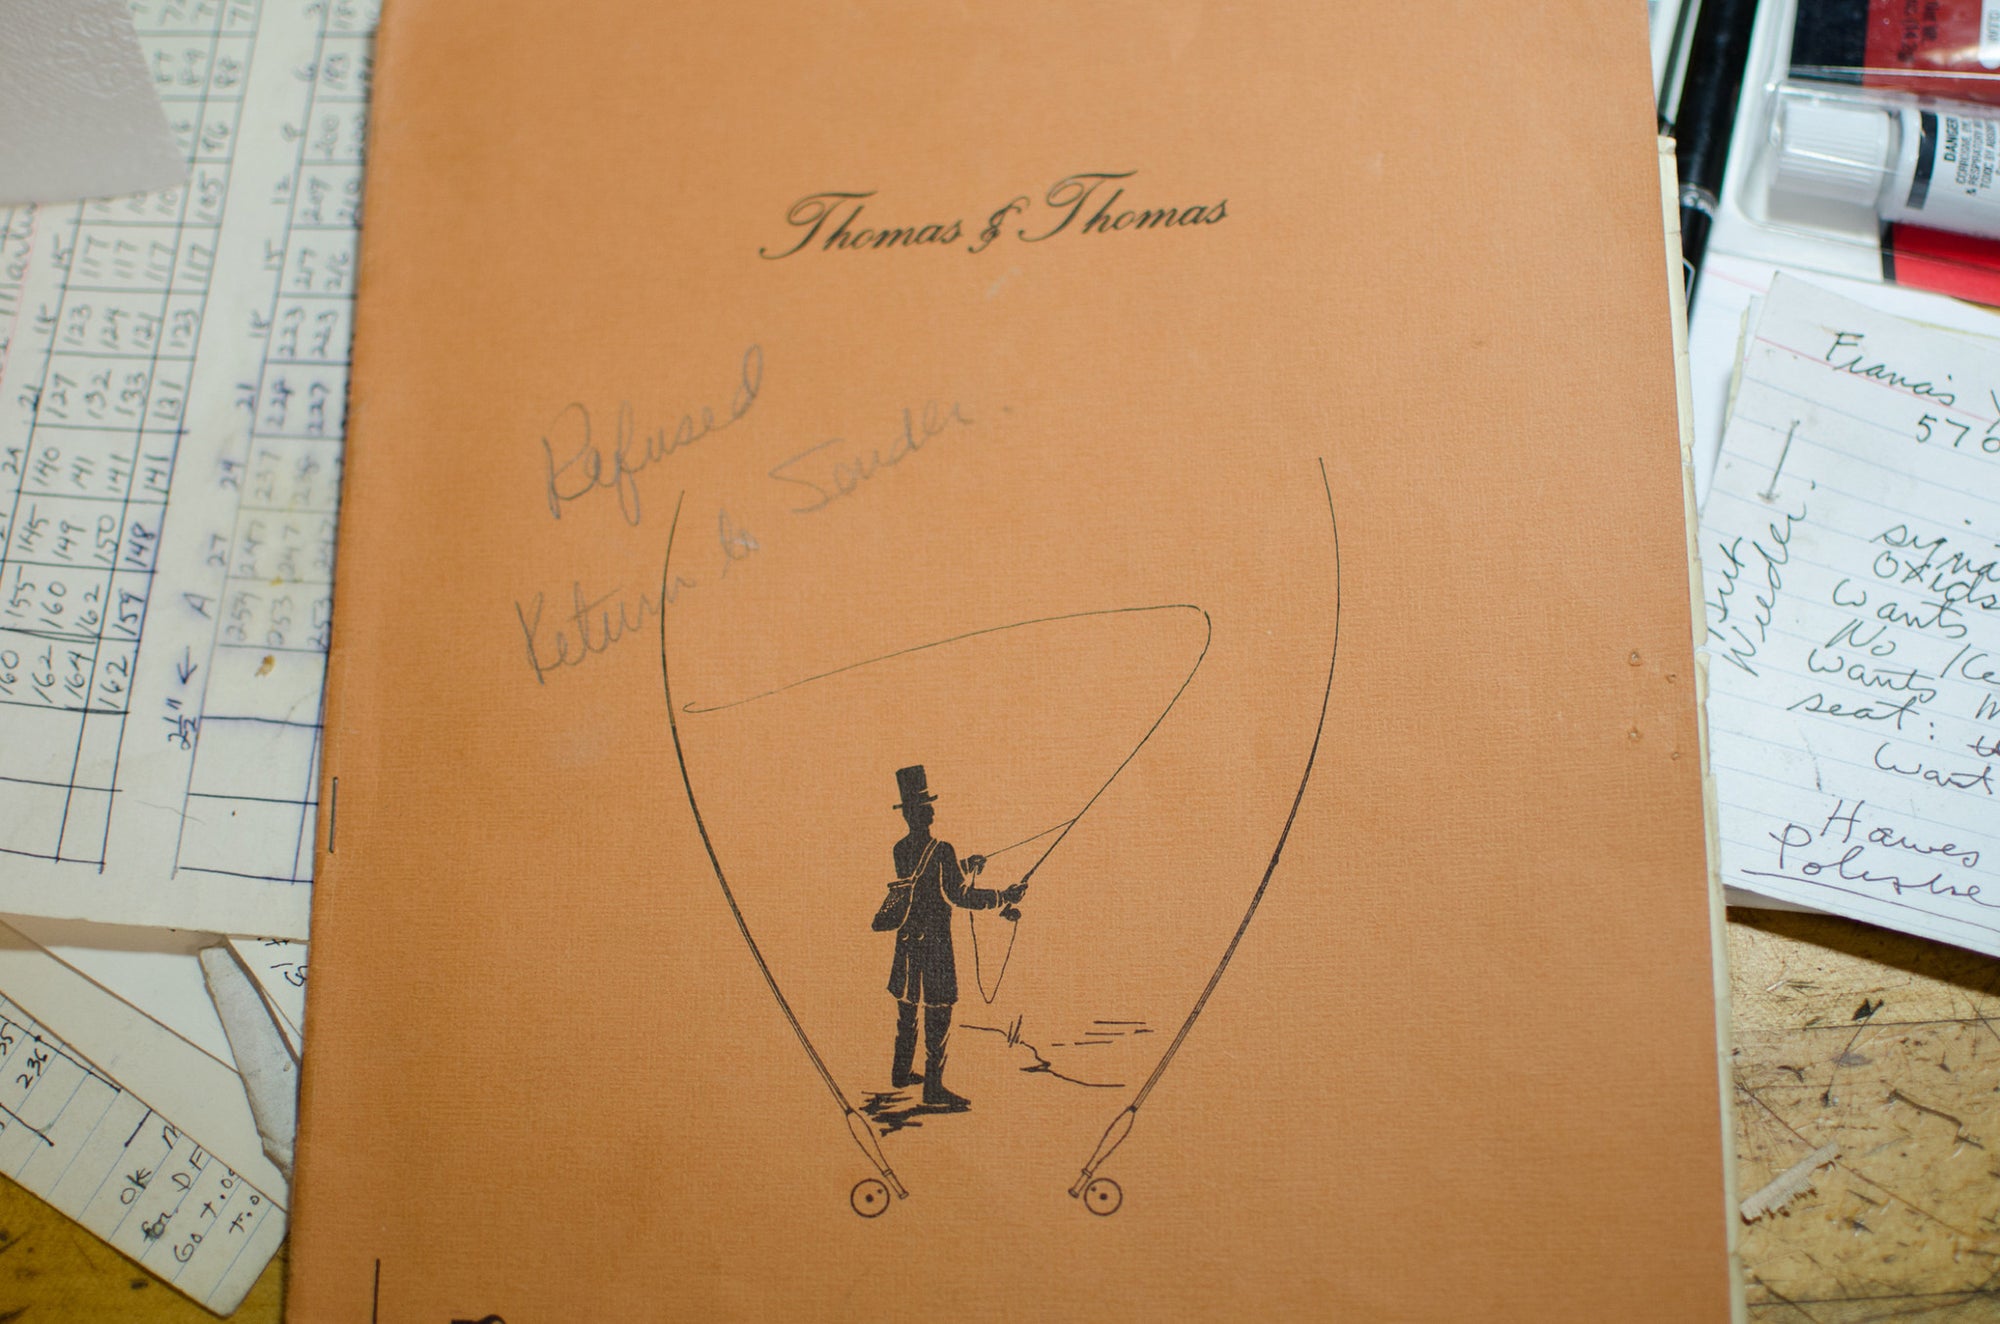
Some while back George Katsar stopped by the shop to say hello. We hadn’t caught up in a very long time but it was good to see him since George and I go back a few years: we were among the earliest employees at Thomas & Thomas when it first opened in Greenfield.

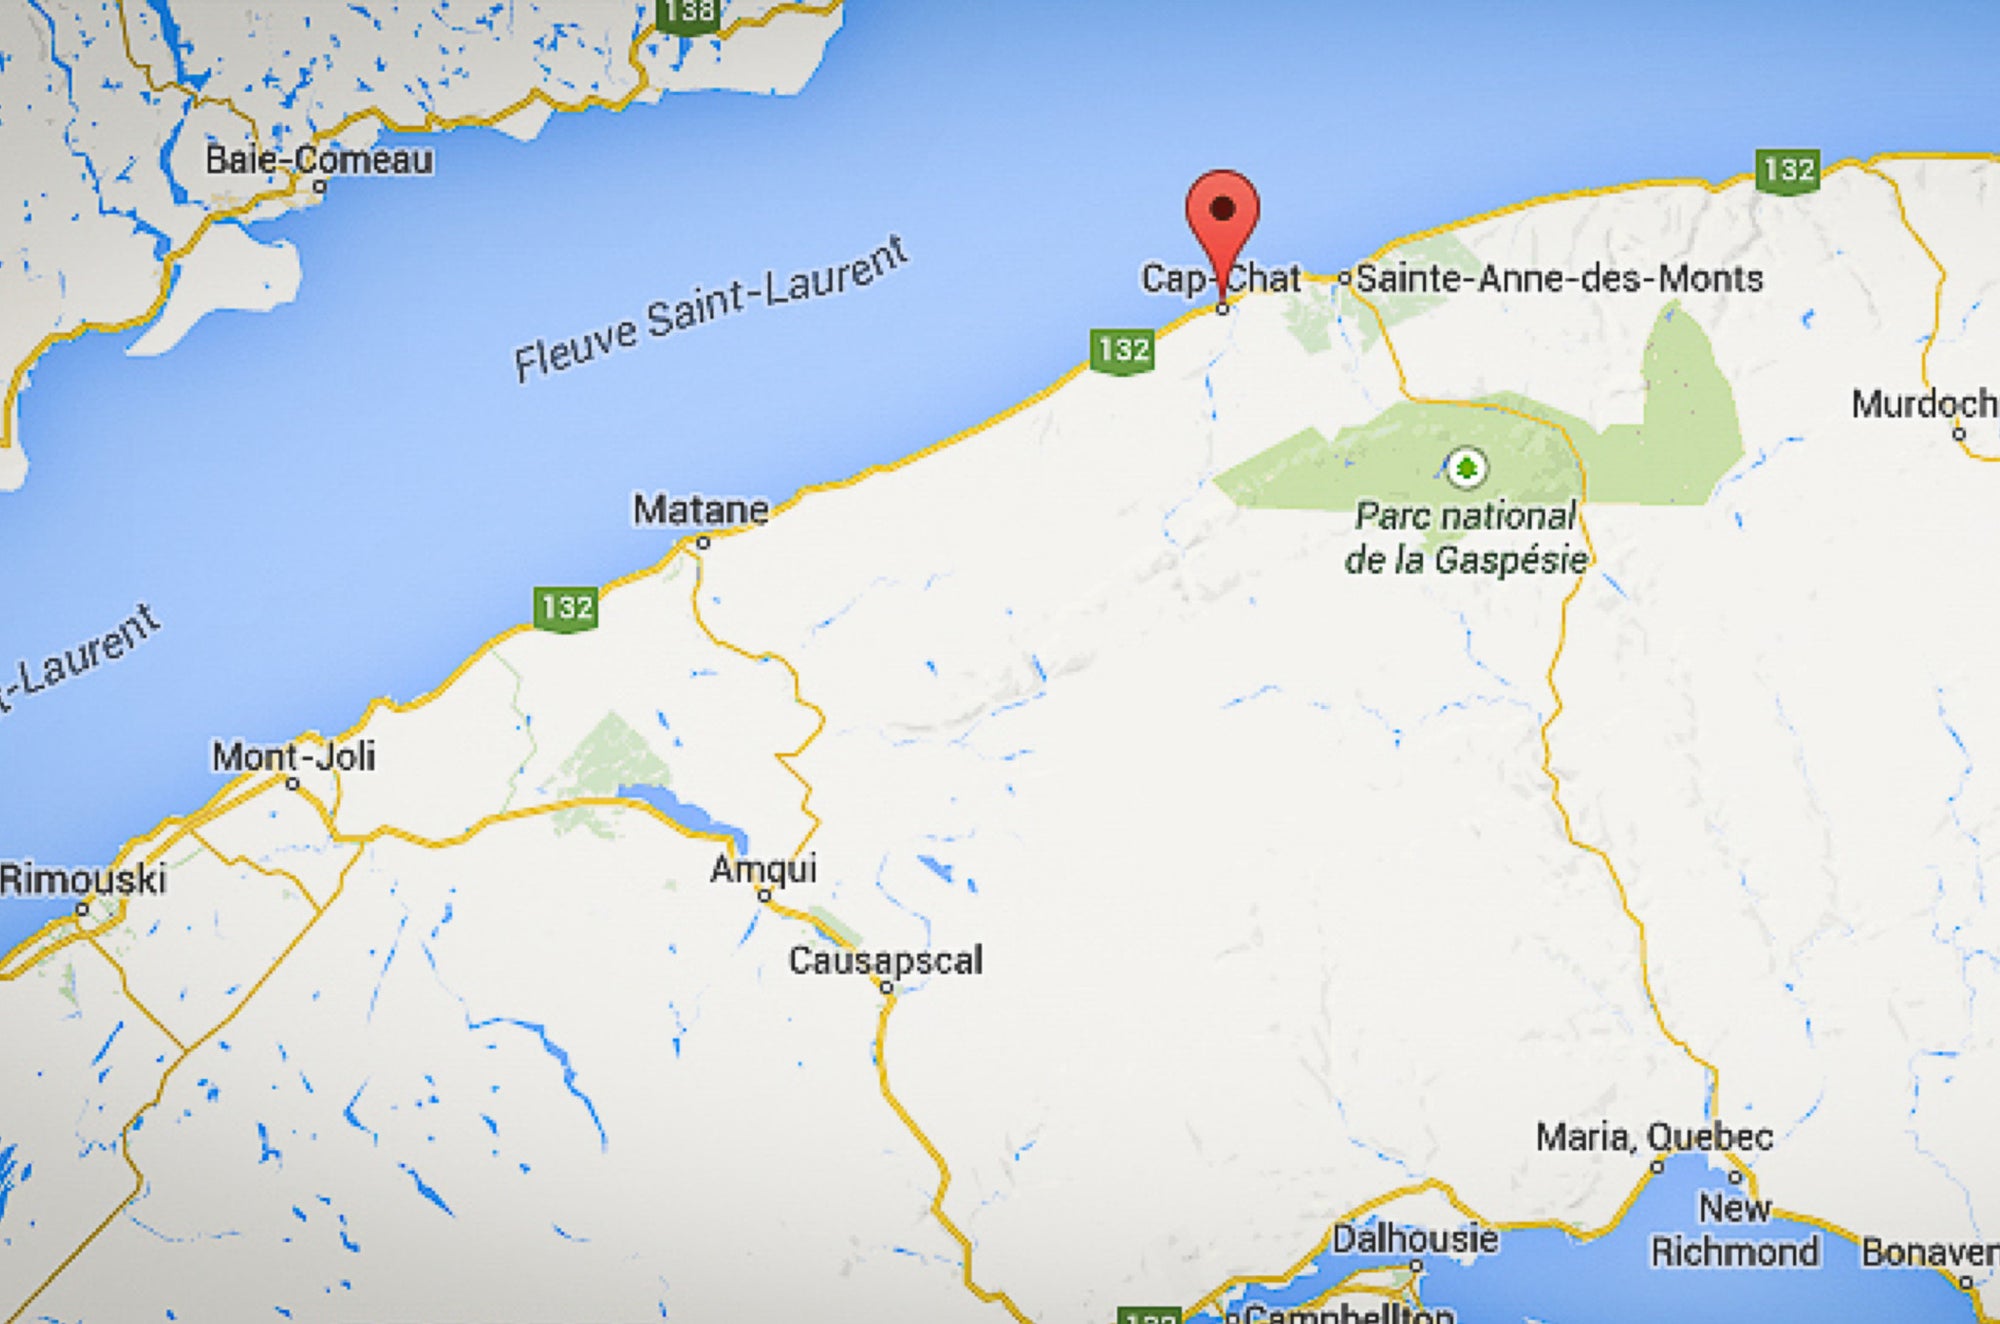
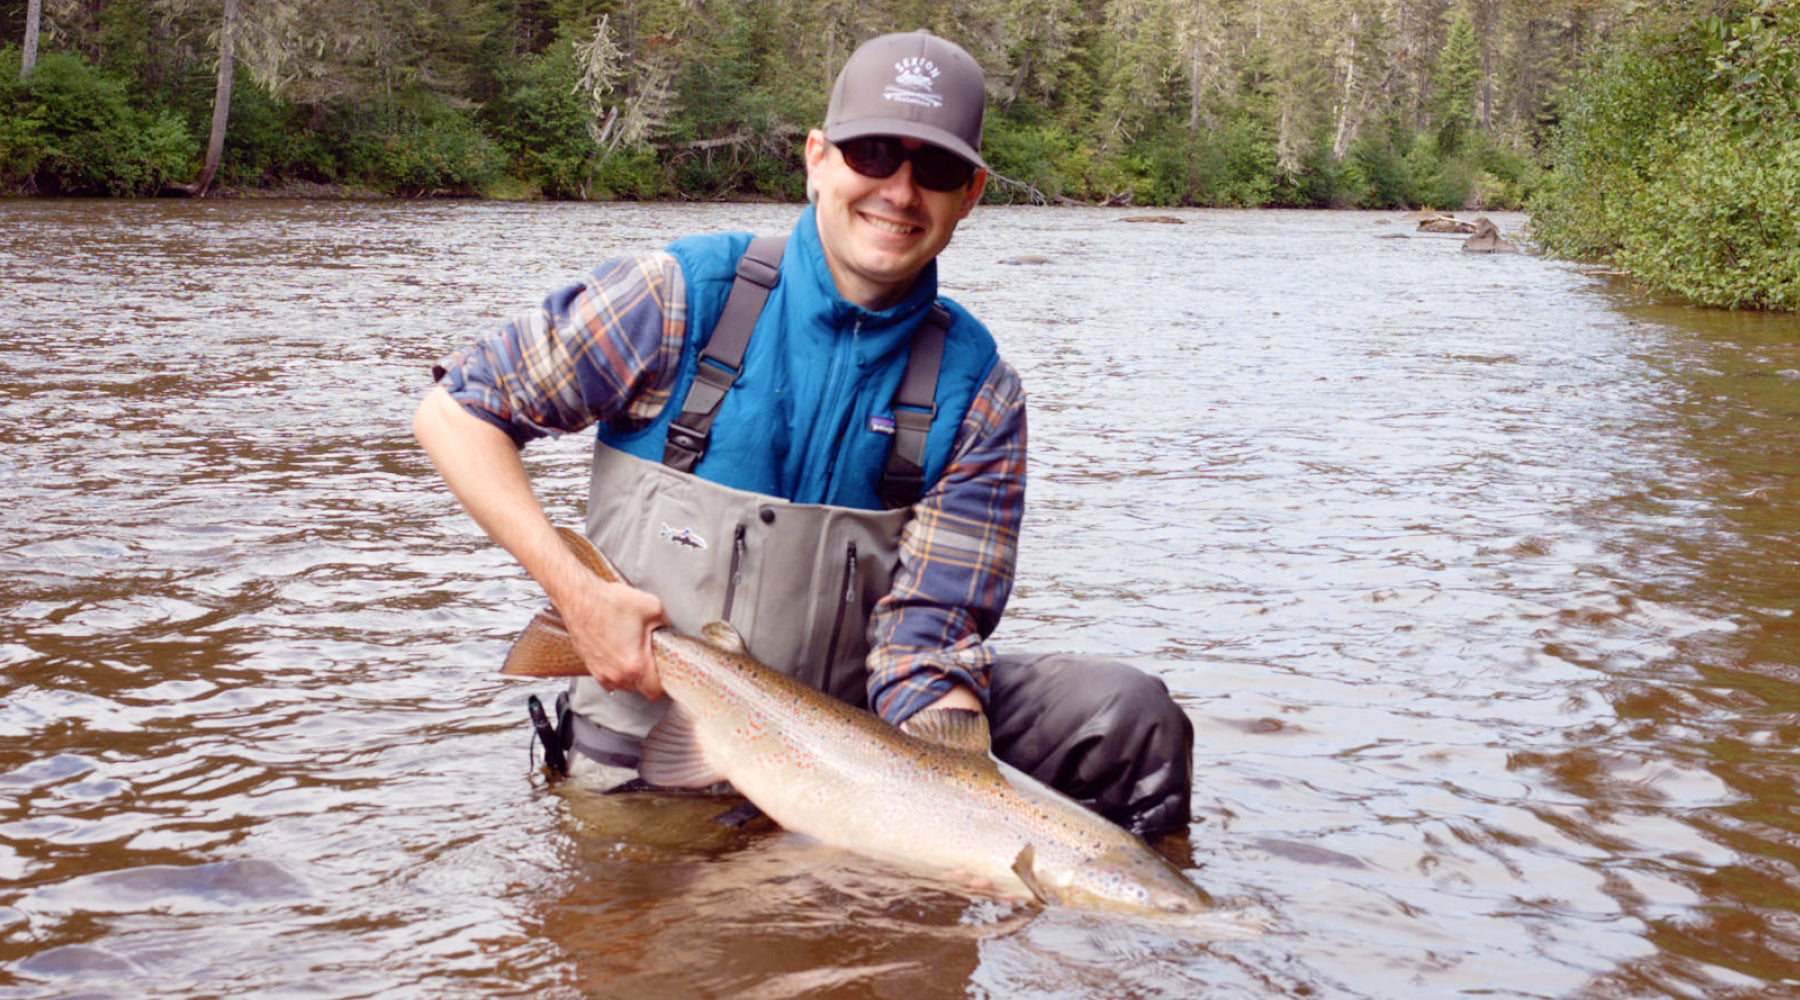
It was shaping up to be a fairly typical workweek in the shop when a friend called and invited me to join him for a few days of Gaspe atlantic salmon fishing. He had won the trip through the drawing process that the local Quebec salmon offices (ZEC) use to allot beats to anglers.

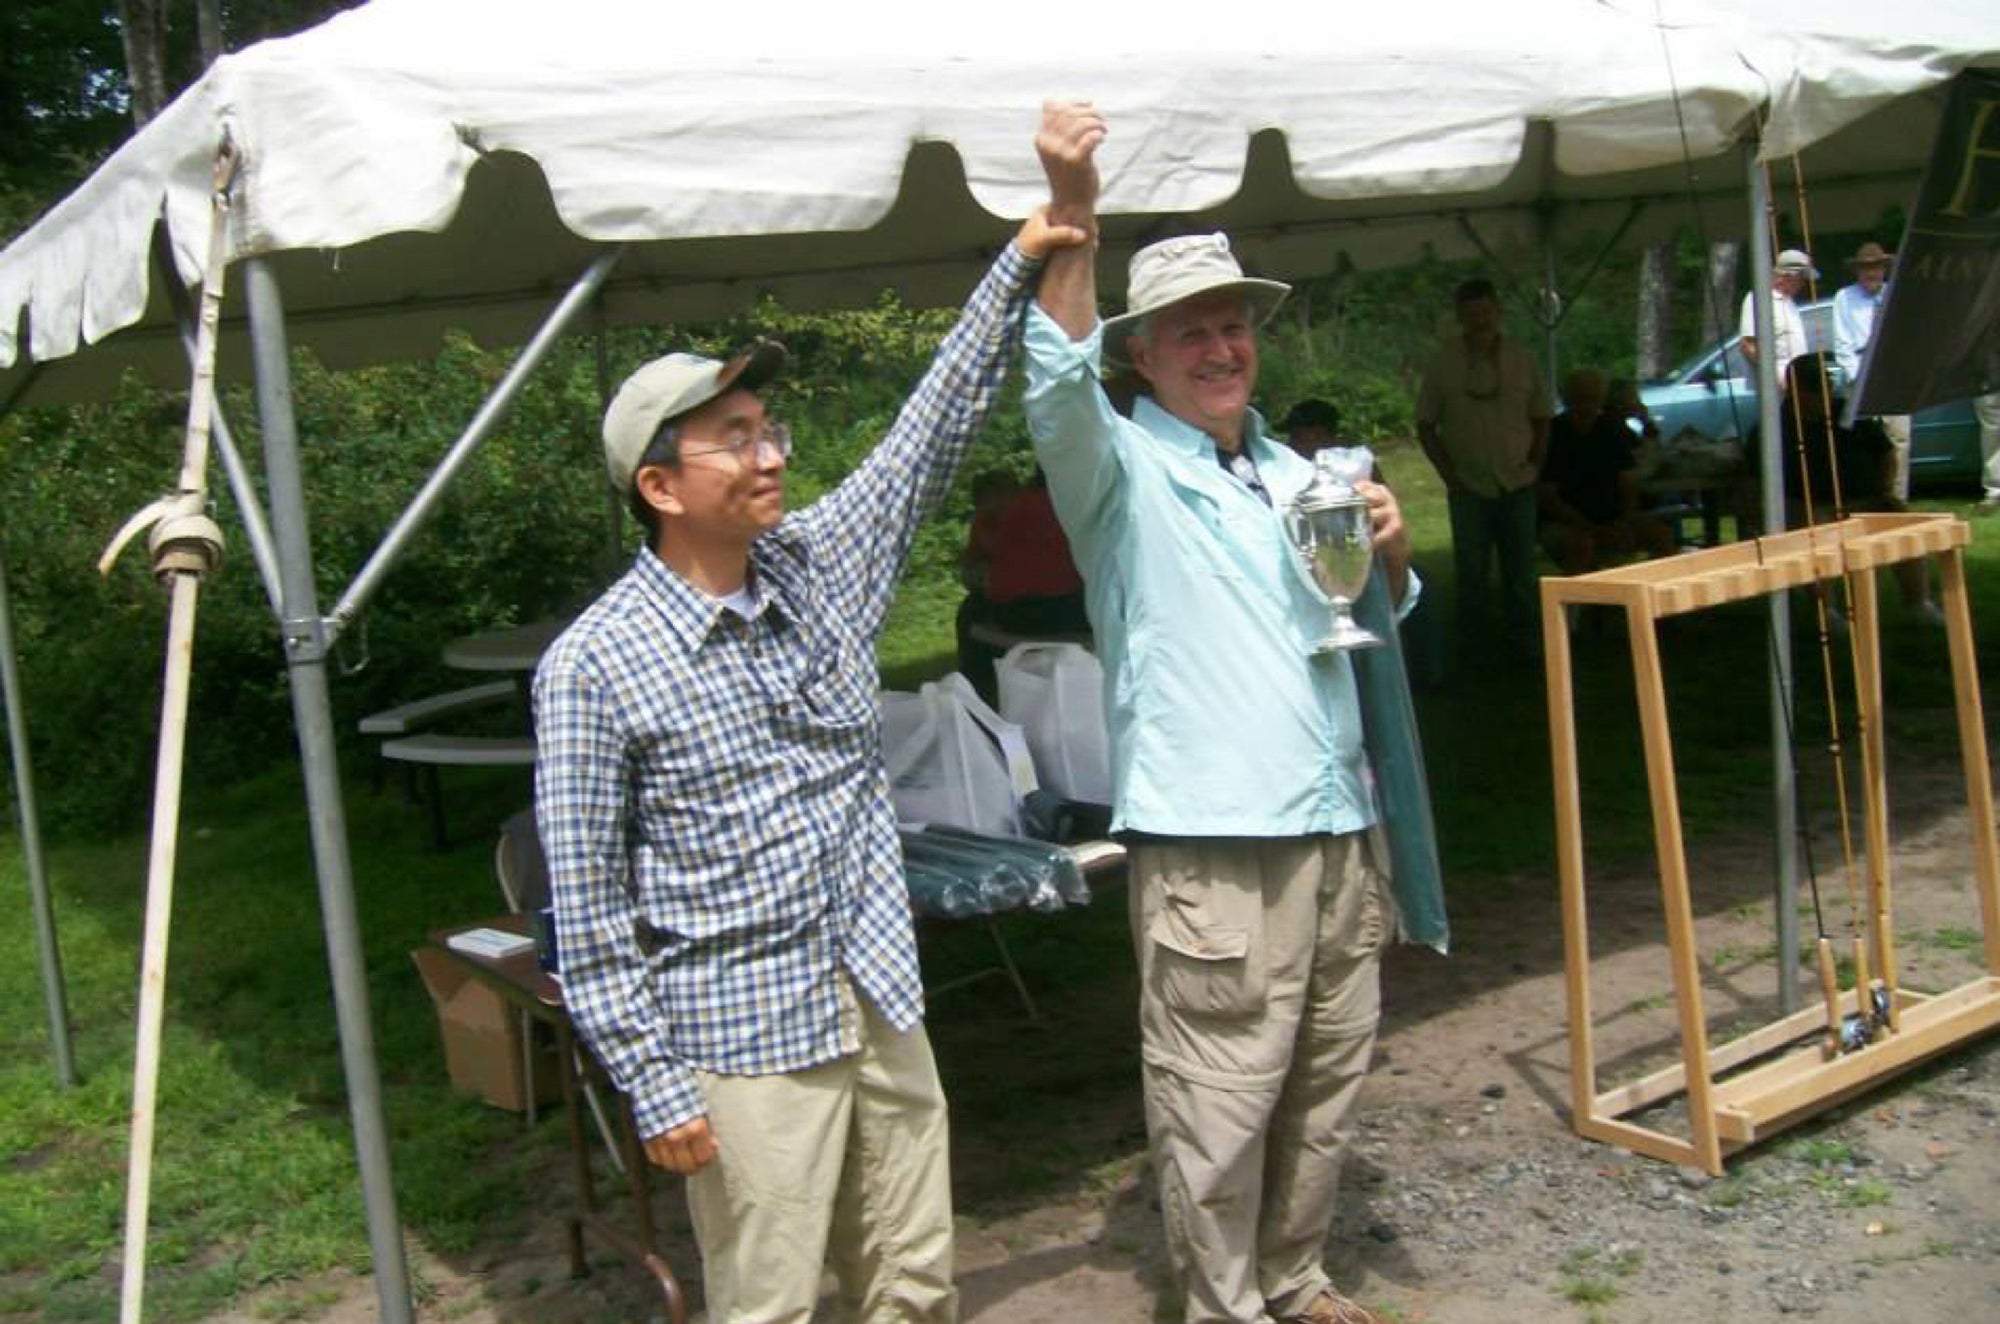
Two weeks ago marked the 4th Annual Hardy Cup bamboo casting competition which is part of the the Catskill Museum of Fly Fishing’s annual Summerfest event. Along with many anglers and bamboo rod enthusiasts, I made the trek to Livingston Manor that weekend to visit with friends and customers.

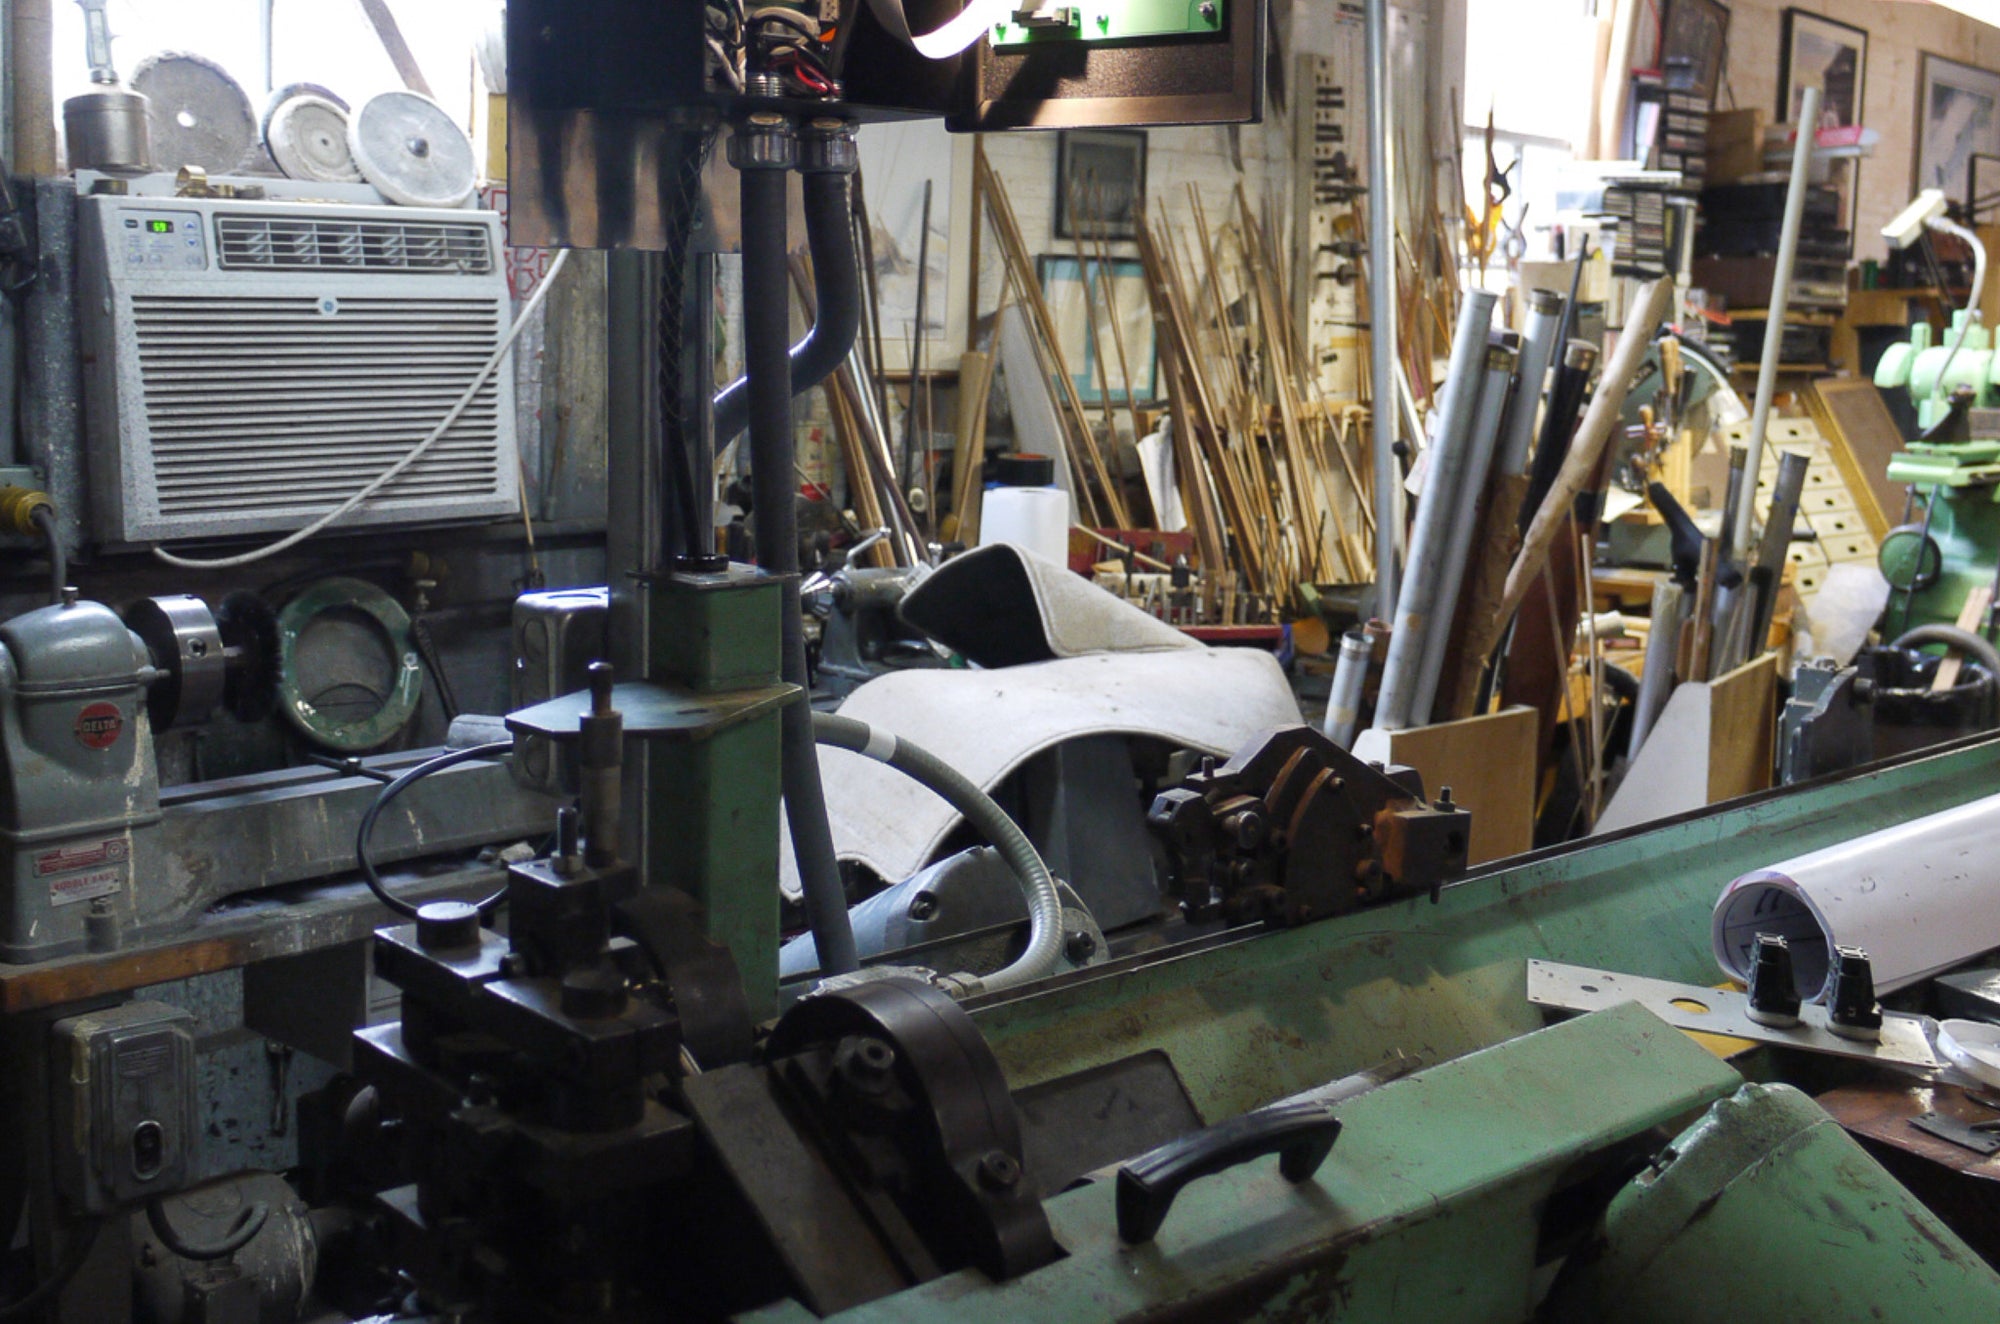
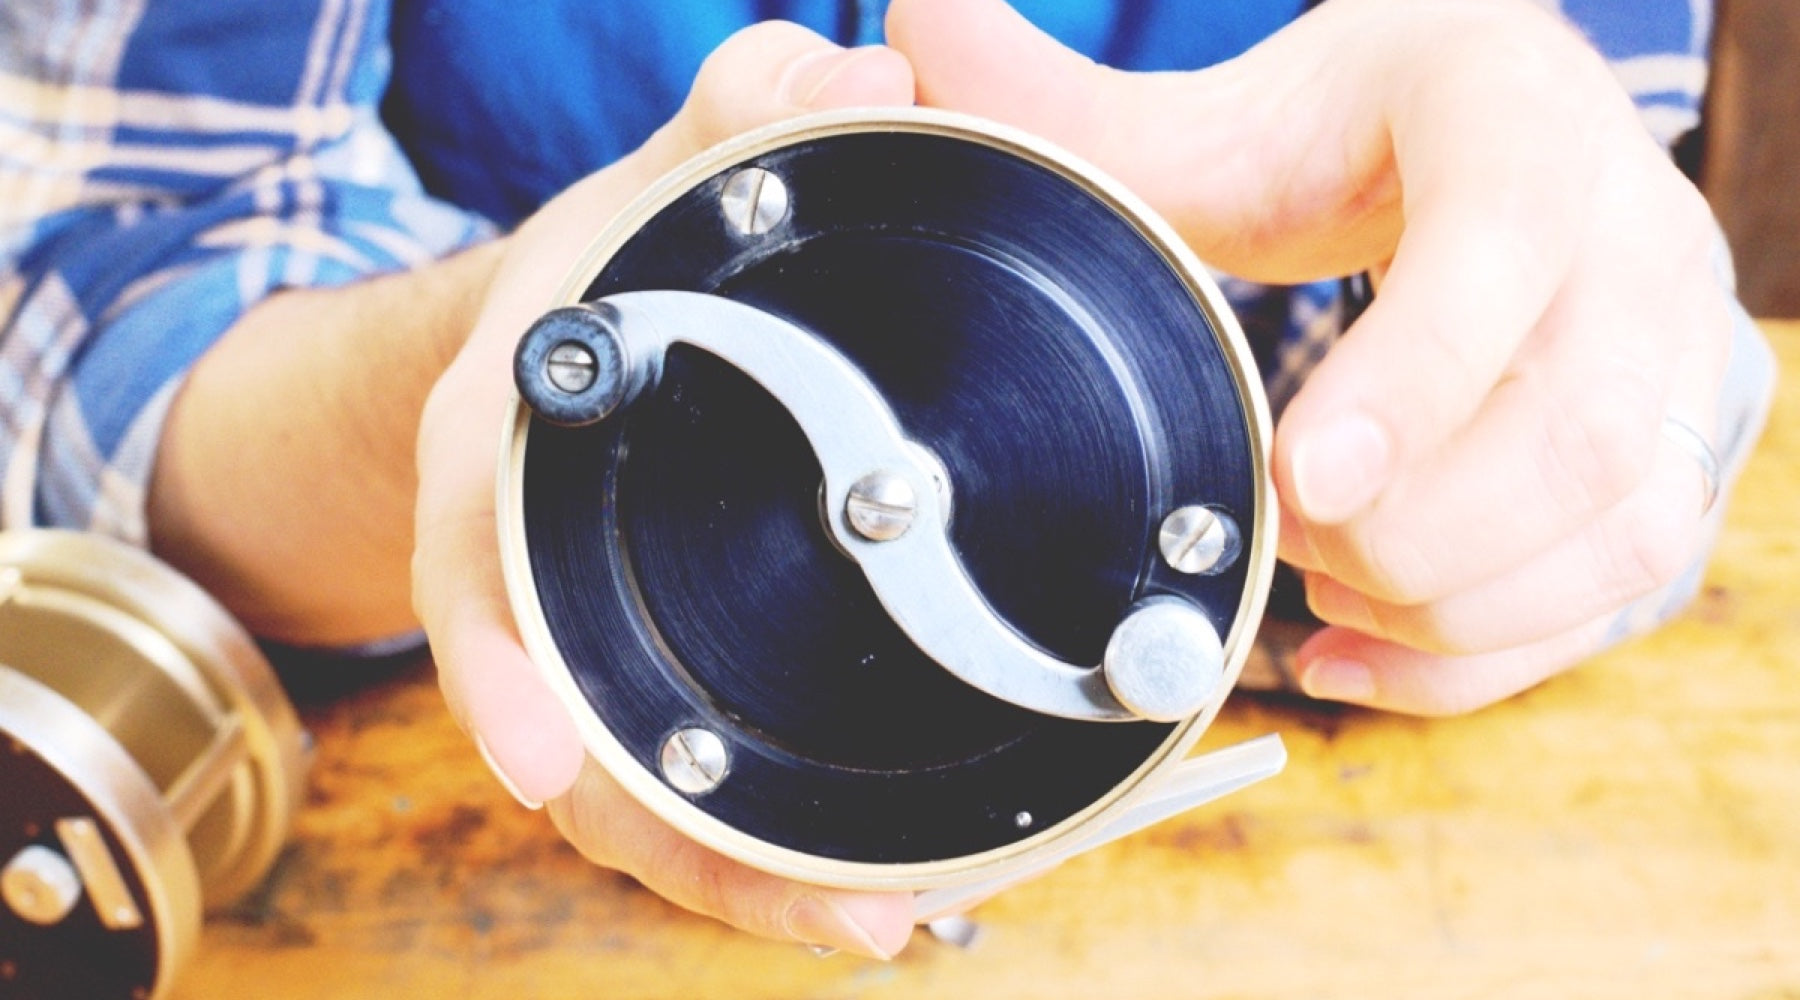
The Leonard beveler has been a mainstay of my rod making operation since its acquisition at the Leonard auction in the early 1980’s. Unfortunately it started acting a little balky earlier this year, and it seemed that a bad motor or a problem in the electronic control system was to blame.


Many dogs aren’t suitable for fishing, but Izzy isn’t one of them. Here she is, streamside, her favorite place.

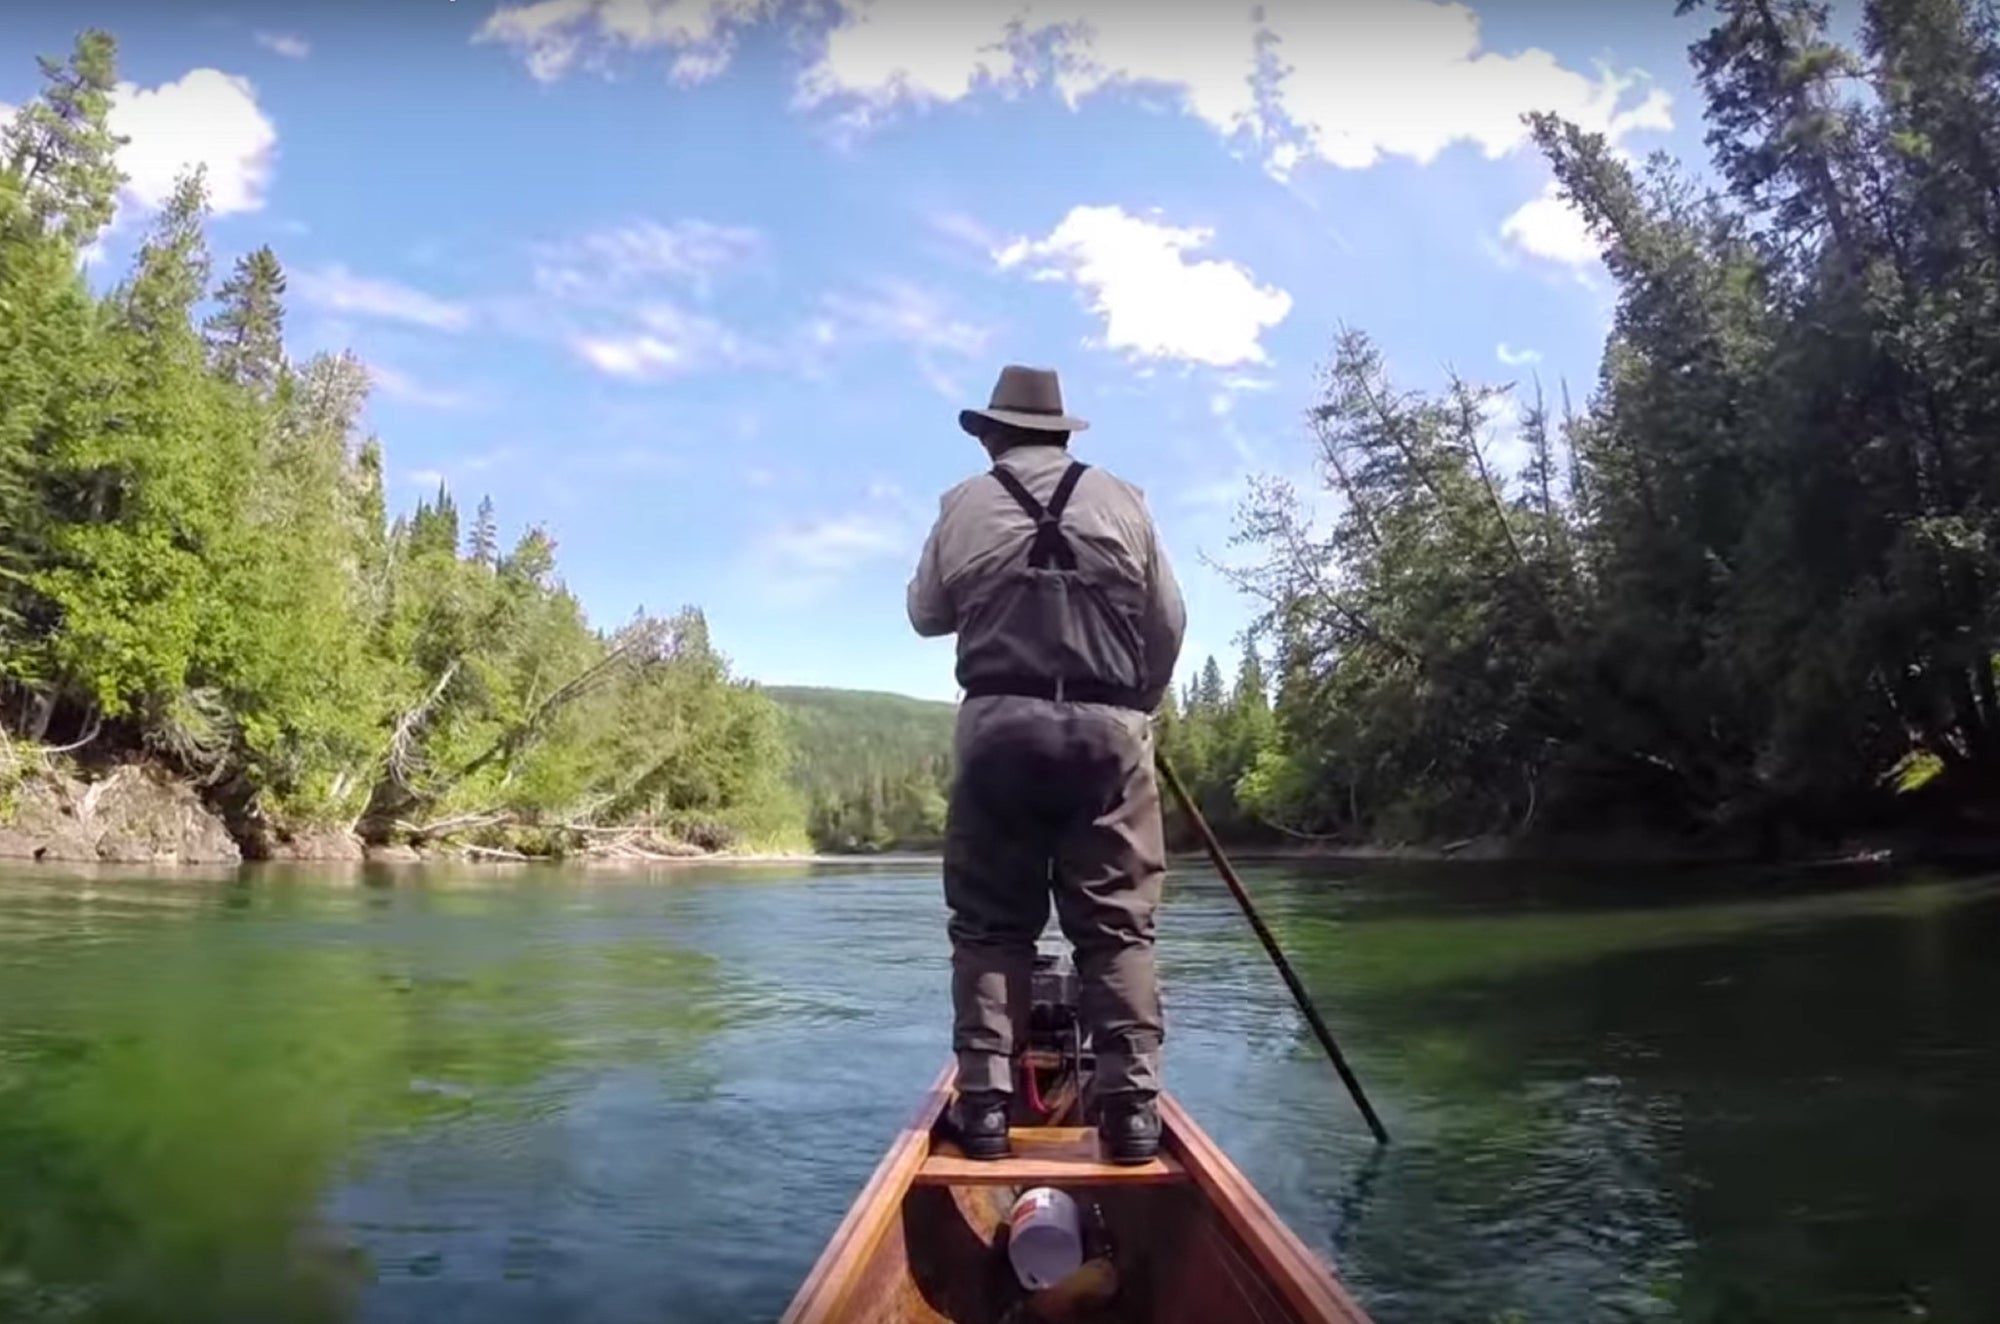
Our friend Ben Carmichael from New England on the Fly recently got back from a quick trip to the Gaspe and shot this excellent video. More details about his trip here: http://newenglandonthefly.com/2014/06/30/gaspe-atlantic-salmon-striped-bass-june-2014/